The weekend is coming to a close, mine was family-oriented, the best kind!

Good chat with my son, visit with sister #3, she just sold her big house and settled into a lovely condo, which started my wheels turning!??

I made blueberry syrup, goodness gracious it is so good, and so pretty!

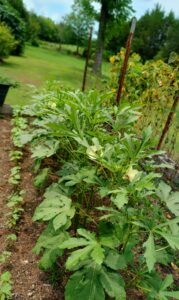
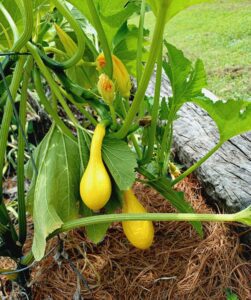
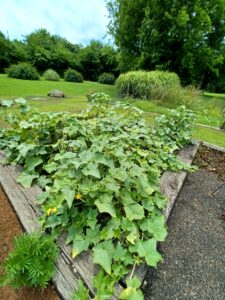
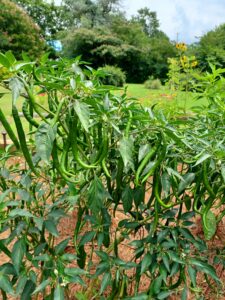
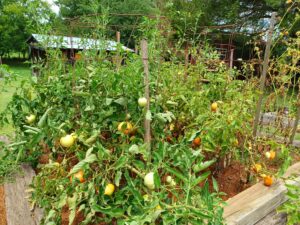
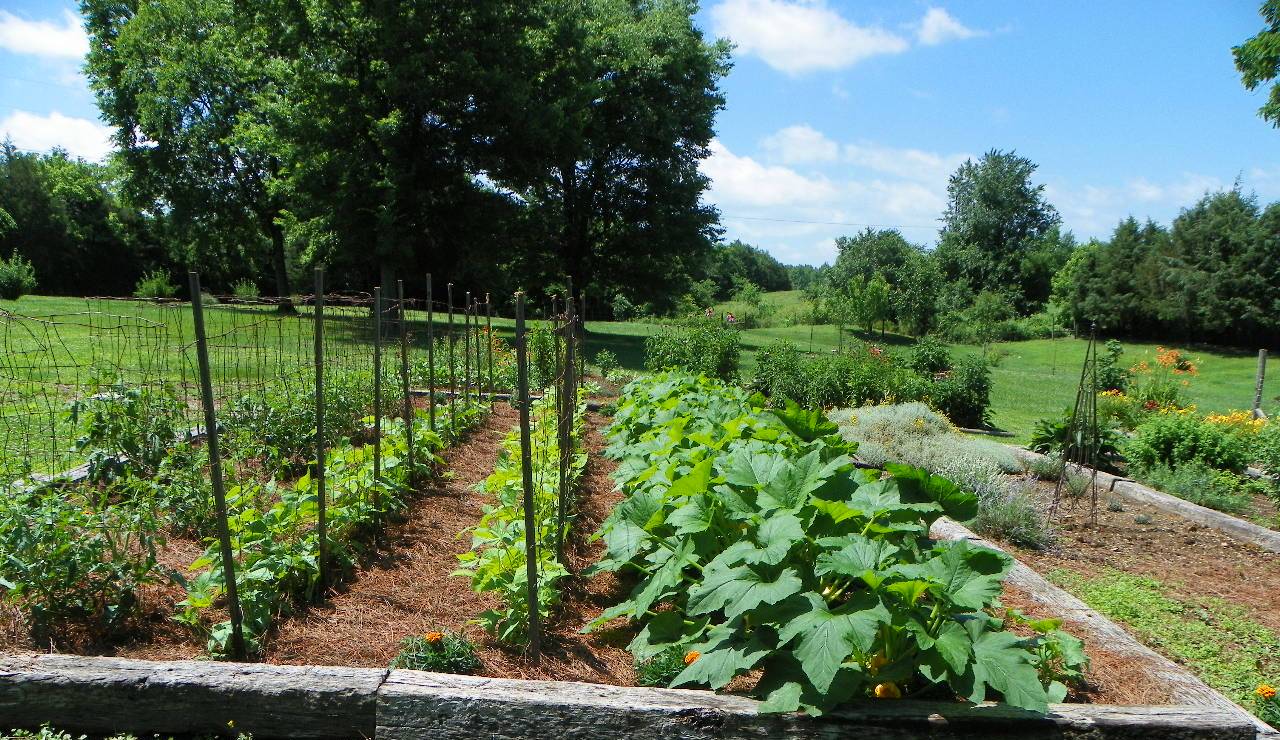
Highlights of the grounds tour this AM.

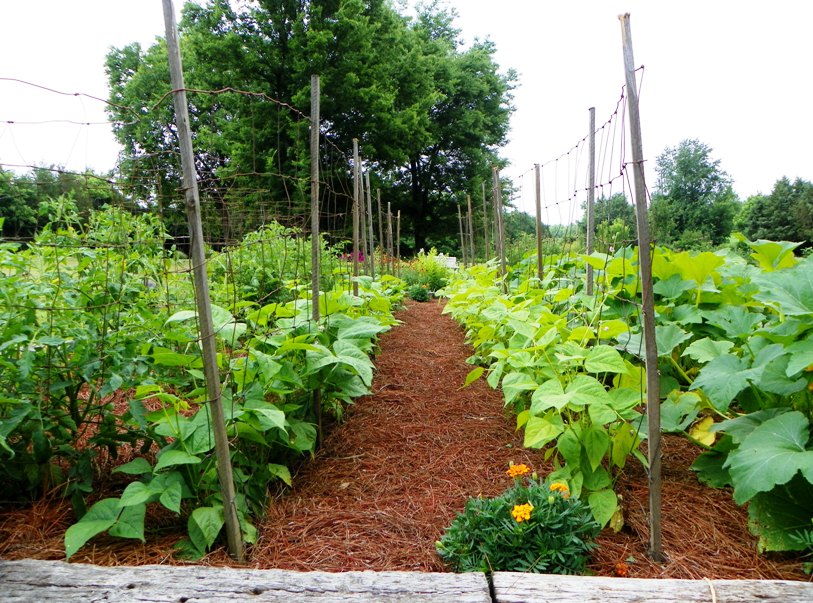
Everything is greener, more alive, and standing tall since the two recent rains, it was much needed and made a difference.
Expecting more tomorrow.

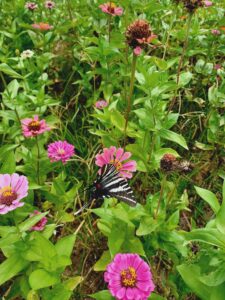
The gardens have a lot of bumblebees and butterflies…honeybees have moved on, they go where they are needed most.

Monday’s coming…sleep is required…sweet dreams.

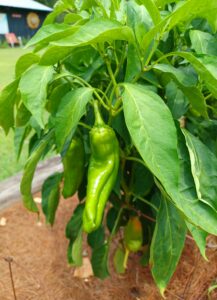
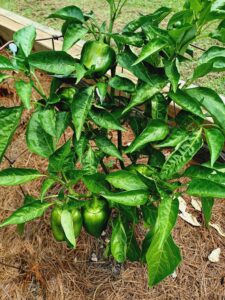
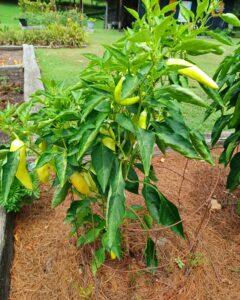
Okra summer squash

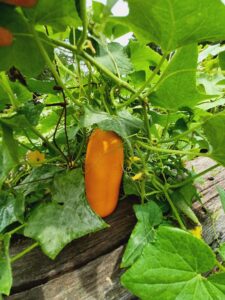
cukes cayenne

pepper pepper

pepper pepper

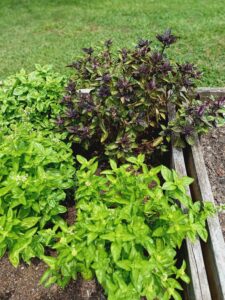
basil seed

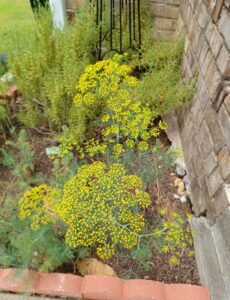
dill sunflower

There Is An Herb For That!

Herbal Summer Tips~


Summer can mean too much sun and exposure to itchy things and bug bites. 
A few simple and inexpensive ways to keep your skin in healthy condition and calm the itch of bug bites. When they itch, one tends to scratch…which leads to more itching, more scratching…and eventually infection.

Lemon balm, lavender, echinacea, eucalyptus, or lemongrass makes an excellent wash…boil a small pot of water, add a handful of Lemon balm, Lemongrass, or any of the above…turn heat to a very low setting, and steep for about 10 minutes…add to a bath or soak a bath cloth and gently wash the skin, use in a spray bottle as a repellent. You can then add a touch of Tea Tree oil to the areas needing attention. You can do this as often as needed. 

Aloe Vera plant is an awesome herb for sunburn or just to cool and treat hot skin and itchy bites…if you don’t have a plant invest in a good gel or cream from a natural/organic source.
Big Tip…If you refrain from using chemicals on your lawn and gardens, in a short time you will discover you have no pesky bugs to be concerned about.

Bad bugs thrive in bad soil and plants…with healthy, chemical-free lawns/gardens you will have an abundance of good bugs…which eat any bad bugs who come creeping around…it’s a win-win~

 
Wishing you a very safe and bad-bug-free summer~
 
Praying mantis - a bug in the garden.

This is the awesome Praying Mantis…a very good bug in the garden.
Please do not kill them.

They are a little creepy in the sense they can turn their head completely around without moving the body…and they will watch every move you make!!

Totally harmless to humans, tough on bad insects…and some good ones.


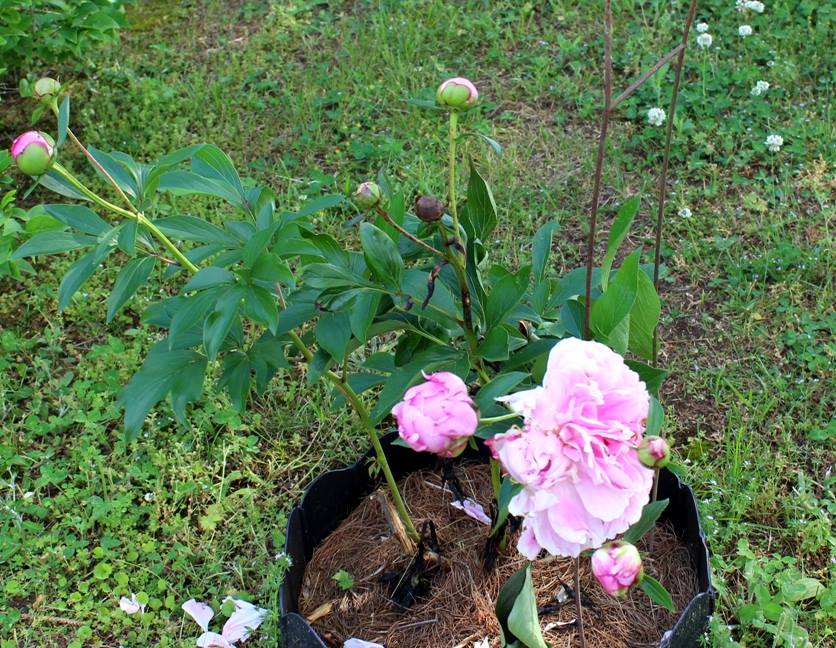
peony

Peonies have glands called extra-floral nectarines that deposit sap on the buds. This sap is made up mostly of sugar but also contains protein, amino acids and other nutrients.
Even though ants are not instrumental in opening the buds, they do serve a purpose. Ants are aggressive and will either eat or drive other pests away that harm peonies. Therefore, it is best to just leave them alone and let them feast on the sap.
Ants do not stay around long after the flowers bloom and the nutrient-rich sap is no longer produced. It is only created while the flower is still a bud. A few ants may be reluctant to leave the flowers, but once they are fully open, the ants will be gone.

It is important to prevent bringing ants inside when using peonies as cut flowers. Cut the flowers and dip the head of the flower in a bucket of clear water. Gently swish it around until all ants fall into the water. Remove the flower from the water and shake gently to remove excess water .

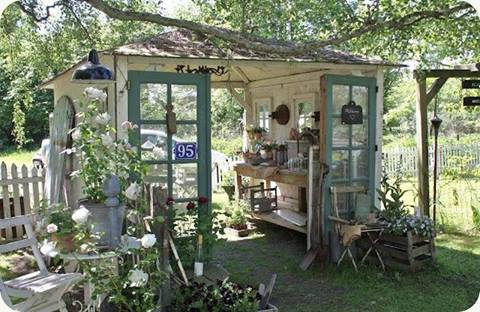
 potting shedsuch an awesome month, we are all so anxious to get started in the garden and mother nature is just as anxious to hold us back! I suppose because she knows her work isn’t finished to put all things in place for good and abundant growing. It can really be a lesson in patience……
There are many things we can do in April that will help move things along rapidly when we do get the final go-ahead.

We can start pre-paring our soil for planting providing it isn’t too wet….never work your soil when it’s wet, it isn’t a good thing for many reasons. This is a great time to get the weed problem under control if you have them. One good way to avoid that problem is to grow in raised beds. Another benefit is it gives your garden very good drainage.

This is a good time to lay out new locations, build beds, move plants to other locations, and do some snipping and pruning of certain things. Also time to sew seeds in transplant trays for later planting.

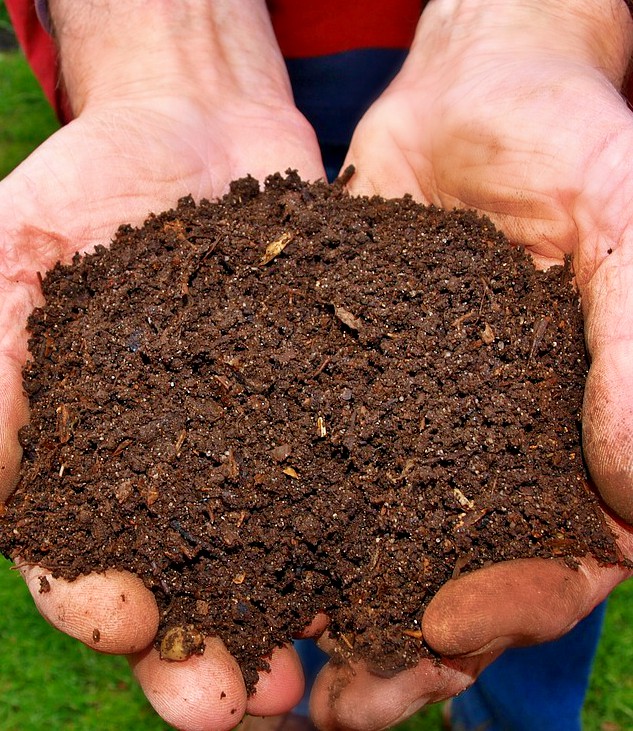
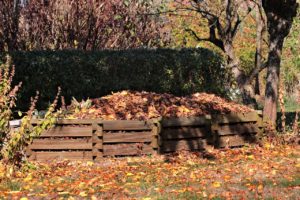
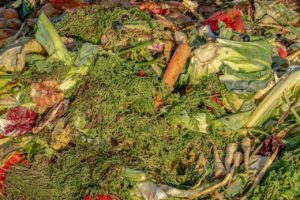
Another must have project is to start a compost pile if you don’t have one.
It’s never too late to do this……it’s the best fertilizer you can find anywhere,
and of course if your growing by organic methods, compost is black gold!

I think April is my favorite month in the garden….not because it’s the most beautiful time but because the options are so many……just dream it and you can do it ! 
I would love to hear from you and know what you are planning for your garden this spring.

(Do you Know:) Oregano packs 42 times more antioxidants than an apple. You can grow all you need for a family kitchen in a large pot, reasonable water/nutrients and plenty of sun.

Have an “Awesome April”………………….

https://sagehillgardens.com/healthy-after

leaves composting fodder soil


Hot Composting~

This method of composting requires more work, but you get faster and better results.  Once you learn how to compost with this method, composted material can be ready (in ideal circumstances) within a few weeks.  You will find that it is slower in the late fall, winter, and early spring, and a faster process in the late spring, summer and early fall.  In other words, it coincides with nature’s growing season in your area.

  1. Pick the location for your compost pile.  You’ll want it in an area that drains well, that’s fairly level, near the garden, but not too near the house .
  2. Determine how you want to contain your pile (build a bin, or put it right on the ground.)  If putting it on the ground, you may wish to put a layer of sticks down first to help air circulate around the pile better.  Determine the size of your pile/bin.  A minimum of 3 feet x 3 feet by 3 feet is recommended.  Optimal is 4’ or 5’ in each direction.
  3. Start building your pile, by using equal alternating layers of high carbon (dried leaves and twigs) and high nitrogen (clover, fresh grass clippings, vegetable/fruit scraps, manure) materials.  Add a few shovels of soil to each layer (adds microorganisms to help in the decomposition process).  Layers should be 4” to 6” thick.
  4. Keep the top of the heap slightly concave to catch rainwater.
  5. Water.  Keep the pile moist, but not saturated.   Check it daily.
  6. Poke a few holes in the sides of the compost pile, to help aeration.
  7. The pile will heat up and then begin to cool.  When the pile’s internal temperature reaches about 130 degrees Fahrenheit, start turning the material in the pile.  (You can check the temperature with a compost thermometer,  it’s ready when it’s too hot to the touch.)  A pitch fork is generally the tool of choice in turning the compost pile materials.Move materials from the center to the outside and visa versa.  Turn the materials every day or two.  During the growing season, this should produce compost for you in less than a month.  If you turn it only every other week, it will take a few months for your compost to be ready.
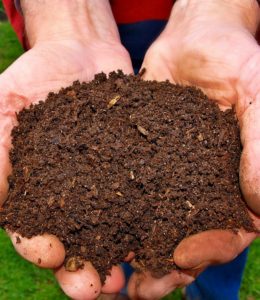
  8. Finished compost will be dark brown or black, be sweet smelling, have no traces of the original matter, and be cool and crumbly to the touch.

If the compost pile is too hot, you have too much nitrogen.  Try adding more dried leaves and sticks/carbon material.

If nothing is happening in your compost pile, you may not have enough nitrogen materials, water or air.


garden

COMPANION PLANTING CHART (HERBS)

Plant Type

Compatible For Companion Planting

Incompatible

Anise Coriander
Basil Tomatoes
Bee Balm Tomatoes, Peppers
Borage Tomato, Squash, Strawberries
Caraway Peas Fennel
Catnip Turnips, Eggplants, Peppers
Chives Tomatoes, Carrots, Grapes, Roses Peas, Beans
Cilantro / Coriander Beans, Spinach, Peas Fennel
Dill Onions, Lettuce, Cucumbers Carrots, Cabbage, Tomatoes
Fennel plant by itself if possible. Cilantro
Garlic Roses, Cabbage, Raspberries, Tomatoes, Eggplant Peas, Beans
Horseradish Potatoes
Lemon Balm Cabbage, Broccoli, Brussels Sprouts, Cauliflower, Turnips, Rutabagas
Mint Cabbage, Tomatoes
Parsley Tomato, Corn, Asparagus  
Rosemary Beans, Cabbage, Carrots, Sage
Sage Rosemary, Cabbage, Carrots Cucumbers, Beans
Savory Beans, Cabbage, Onions
Thyme Cabbage, Eggplants, Potatoes, Tomatoes

COMPANION PLANTING CHART (FLOWERS)

Plant Type

Compatible For Companion Planting

Incompatible

Marigold Potatoes, Peppers, Eggplants Beans
Nasturtiums beans, peppers, cabbage, cucumbers,
squash, pumpkins
Sunflowers melon, pumpkin, squash

COMPANION PLANTING CHART (FRUIT)

Plant Type

Compatible For Companion Planting

Incompatible

Blackberries Dill, Carrots
Grapes Blackberries, Beans, Peas Radish, Cabbage
Melon (HoneydewCantaloupeWatermelon) Sunflower, Radishes, Beets, Corn Potatoes
Strawberries Borage, Peach Trees Possibly Cabbage

COMPANION PLANTING CHART (VEGETABLES)

Plant Type

Compatible For Companion Planting

Incompatible

Asparagus Tomato, Parsley, Basil, Lettuce  
Beans, Bush Potato, Celery, Cucumbers, Corn, Strawberry, Summer Savory, Carrots Onions, Fennel, Sage
Beans, Pole Corn, Summer Savory, Radish, Tomato Onion, Beets, Kohlrabi, Garlic, Chives, Sage
Beets Bush beans, Lettuce, Onions, Kohlrabi, Cabbage, Mint, Carrots Pole beans, Mustard
Broccoli Marigold, Sage, Beets, Nasturtium, Lettuce Tomato
Brussels Sprouts Aromatic Herbs, Carrot, Dill Tomato
Cabbage Celery, Onions, Potatoes, Aromatic Herbs, Beets, Chamomile, Spinach, Chard Strawberries, Tomatoes, Pole beans, Dill
Cabbage, Chinese Celery, Onions, Potatoes
Carrots Lettuce, Radish, Onions, Tomatoes, Peas, Rosemary, Sage, Leeks, beans Dill, Anise
Cauliflower Sage, Thyme, Mint Grapes
Celeriac Leeks, Tomato, Beans, Cabbage
Celery Onions, Tomato, Cabbage, Bush Beans, Nasturtium, Leeks  
Chard Potatoes
Chervil Radishes
Corn Pumpkins, Sunflower, Peas, Beans, Cucumbers, Potatoes, Squash Tomatoes
Cucumbers Corn, Peas, Radishes, Beans, Sunflowers, Cabbage Aromatic herbs, Potatoes, Sage
Eggplant Beans, Marigold, Lettuce  
Garlic Roses, Cabbage, Raspberries, Tomatoes, Eggplant Peas, Beans
Kohlrabi Cabbage, Broccoli, Cauliflower Tomatoes, Beans, Strawberries
Leeks Carrots, Onions, Celery Peas, Beans
Lettuce Onions, Strawberries, Beans, Carrots, Radishes, Peas, Cucumbers, Cabbage, Broccoli. Tomatoes  
Okra Marigolds, Eggplant, Peppers
Onions (& family including, garlic, leeks, shallots, chives) Lettuce, Beets, Carrots, Strawberries, Tomatoes, Cabbage, Summer Savory Peas, Beans, Sage
Parsnip Peas, Beans
Peas Carrots, Cucumbers, Corn, Turnips, Radishes, Beans, Tomatoes, Potatoes, Aromatic Herbs Onions, Garlic, Leeks, Shallots, Gladiolus
Peppers Tomato, Basil, Parsley, Petunias, Carrots, Onions, Okra, Marigolds, Cilantro, Catnip, Tansy, Nasturtium Fennel, Kohlrabi, Beans
Potatoes Beans, Corn, Cabbage Family, Marigolds, Horseradish, Lettuce, Radishes, Scallions Pumpkin, Squash, Tomato, Cucumber, Sunflower, Chard, Raspberries
Pumpkins Corn, Marigold, Beans, Sunflowers Potato, Raspberries
Radishes Beets, Carrots, Spinach, Parsnips, Cucumbers, Beans, Lettuce, Peas, Kohlrabi, Nasturtium, Peas Cabbage, Cauliflower, Brussels Sprouts, Broccoli, Kohlrabi, Turnips, Hyssop, Grapes
Rutabaga Mint, Sage, Thyme, Marigolds, Nasturtium, Cabbage, Brussels Sprouts, Cabbage Grapes, Strawberries, Tomatoes, Pole beans, Dill
Spinach Celery, Eggplants, Cabbage, Peas, Onions, Brussels Sprouts, Peppers
Squash Radishes, Cucumbers, Corn, Nasturtium, Mint, Aromatic Herbs Potatoes, possibly Tomatoes
Tomatoes Carrots, Onions, Nasturtium, Asparagus, Cucumber, Aromatic Herbs (Parsley, Dill, Lovage, etc.), Spinach, Basil Cabbage, Cauliflower, Fennel, Potatoes, Black Walnut, possibly Squash
Turnip Peas, Brussels Sprouts, Beans Potatoes

She-moon with an attitude

Planting and harvesting by the moon phases is not a new/recent guide to successful crops….I grew up watching my family use this method, and knowing it was passed on from another/other generations before them.

As the Moon revolves around the Earth every 28 days, it reflects different amounts of sun depending on its angle toward the light of the sun.

The theory is that increasing moonlight is best for annuals that bear their fruit above ground, and decreasing moonlight is best of those that are root crops. The full moon and the new moon are considered “barren” signs when no planting should be done at all, and planting should not be done on Sundays or on the first or last quarter days for similar reasons.

This is one main reason why planning is the most important step in gardening/farming…be it small or commercial size-understanding the phases as applied to growing, takes some study and understanding of the reasons why.

I’ve hear it said…’plant it and it will grow.’ This may be true to a large extent…but how well it grows and produces depends on a well designed and executed plan of action.

My favorite study guide is the long standing ‘Farmers Almanac’…been reading this little book since I was 10 or so. 🙂
http://www.almanac.com/
They even have a section for children, a great project for family’s to study together.

We all live by the astrological truth–whether we embrace it or not. Just one of those facts that was here before we were, can’t redesign it or toss it out. Once we get comfortable with it, understand, and embrace it as a much needed tool…it’s like having another degree in your education package. And…it is so much fun and comforting to know that some of the work/decisions, have already been made for us.

Do share your thoughts…for or not…

Have a magical kind of day…nature is nothing less than magic 🙂


Garlic       Garlic   Garlic

Growing Garlic~

There are two types of garlic, Hardneck and Softneck.
Softneck is what we see in most markets and frankly is much better in all aspects in my thinking.

Softnecks also tend to keep longer once harvested than hardnecks. Break apart a large head of garlic, and plant only the biggest cloves. The bigger the clove, the greater the likelihood it will yield a nice, big head of garlic. Save the smaller cloves to use in the kitchen.

Planting~

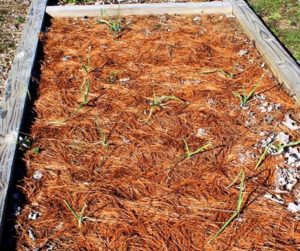
To plant, place the cloves 4 inches apart in a loose, well drained bed, sectioned off in rows. Hold each clove pointed end up, and push it into the soil about 2 inches deep. After all the cloves are in the ground, smooth the soil surface using your fingers or a rake to fill in the holes, and water well. If you’re planting more than one variety, be sure to label each one clearly. I also make a map of my planting, in case the labels go astray. I wait to mulch for a month or more after planting to give the soil a chance to cool down. When it’s leaf-raking season, I put several inches of chopped leaves over the bed.

Depending on your location and growing times…garlic can be planted in late summer or very early spring. Sage Hill is located in the southeast…middle/south Tennessee…..I plant in late summer and harvest May-June. 

Fertilizing and Watering

Top growth starts in earnest in spring, when the weather warms and the days lengthen. I fertilize twice with a solution of liquid kelp and fish emulsion: once, when the garlic has started growing strongly—about mid-April—and, again, a month later. Garlic isn’t greedy for water, but it doesn’t like to dry out, either. When the soil feels dry an inch below the surface, it’s time to water. In mid- to late June, I stop watering. By that time, the garlic has sized up and the heads are starting to form cloves.

Harvesting

Harvest in late spring or early summer when the plants have five or six green leaves, with no more than one or two beginning to turn brown. Each green leaf represents a wrapper layer surrounding the head. During harvest, you’re liable to damage the outer layer. Later, while cleaning the heads, you’re apt to lose another one or two layers. Your goal is to end up with two or three tight, papery layers enclosing each bulb.

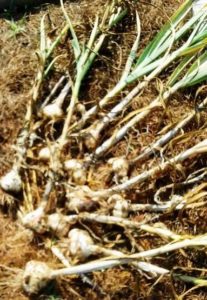
To harvest, drive a garden fork beneath the plants (be careful not to damage the bulbs), gently pry them loose, and then pull them out. Shake off any excess soil, and lay the plants in a pile. As soon as you’ve finished harvesting, move the plants to an airy location that is protected from sun and rain. If you’re growing more than one variety, keep each variety separate and well labeled so that you know what’s what.

 Cure, clean, and store the heads

To cure garlic in preparation for storage, hang the bare bulbs with their foliage in bundles or spread them out on a table or rack. You can begin eating them right away, but bulbs intended for storage must be cured.

After a few weeks of curing, it’s bulb-cleaning time. Trim the stalks to 12 inch above the bulb, and trim the roots close to the bulb. Rub off the outer layer of skin around the bulb, and use a nailbrush or toothbrush to gently remove any soil clinging to the base. Try not to remove more wrapper layers than you have to. Store the bulbs in a well-ventilated, dark spot. If you want, set aside the biggest bulbs for planting in the fall


Spring Gardens

Spring is well into the growing mode and everywhere one looks you will likely see all manner of water sprayers working away ….

If your area has had rain-fall in the last week, your garden probably does not need water…even though it may be dry on the top-soil line.
Sprinkling your garden plants every day or every-other day is a waste of time. water, and does nothing good for the garden…except to feed/water the negative insects.

The biggest negative being…it encourages the plants root to grow shallow and produces a weaker plant system over-all.

Important: A deep watering once a week is all any garden needs….this also plays a large part in the flavor of your crop…too much water leaches nutrients and with those…goes your taste.

Important: Thin, thin, thin….when seedlings are small they don’t appear to a threat to the others in line…however, if you allow them to grow too much before thinning, you are apt to damage the roots of the ones left behind….Read your seed packet and don’t be afraid to thin…you’ll get a healthier plant and in turn more produce.

Important: The best thing  we can do for a vegetable garden is to straw around each plant, and the walking areas of the garden overall…this holds moisture in the soil, (less watering) smothers weed growth, and actually cuts down on insects…Remember, bad insects thrive in negative conditions….so don’t hang out a welcome sign by doing the wrong things.

Important..If you do have weeds…pull before they set seed, this will cut back on the next generation…
Important…Spraying and dusting with chemical weed killers is the one most negative thing for your gardens….think about it…man has been saturating the weeds with deadly chemicals for centuries…and the weeds are bigger and meaner than ever in the past…(thriving on the negative!)

The cleaner your soil, the healthier your plants, the tastier/more productive the crop.

The cleaner your crop, the healthier and happier your family ~


Herb Gardens in Small Places~

000_0020
~
Small spaces can bring a bounty of herbs and vegetables.So…if you are thinking you don’t have room to grow herbs or your own garden…think again…outside the box.

Most edible plants do very well in somewhat crowded surroundings.

In a small 4X8(or smaller)raised bed you can have a tomato plant or two, a basil plant, a chive, a dill, a thyme and maybe even a sage or oregano plant.

The key is keeping the bed clean and free of weeds and training your plants to grow up and not out.

Tomatoes can be caged or made to grow up a heavy string trellis.

Basil and other herb plants have to be pinched back and trained to grow tall and not bushy.

Chives will spread from the root, so to keep them at a desired size just dig and divide the clumps two or three times during the growing season.
If you don’t have extra yard space to transplant them to, use a large container such as #2 wash tub or any sturdy outside pot.

Chives make lovely little potted gifts for those times when just a little note of appreciation is welcomed.

This is the time to be working your compost, either making your own or just mixing the best of what you can find in garden centers.

A great mineral to add to your compost or garden soils is “Azomite” a natural product of volcanic ash. Check with your local agricultural office about where you can find this product in your area. It can be ordered from a company in Utah, but, unless you need a large amount is very expensive to purchase this way.

To a most successful year of gardening~