
Pumpkin history (as we know pumpkins to be) is somewhat recent compared to many other vegetables and fruits. The word pumpkin originated from the Greek word Pepõn which means large melon. The word gradually morphed by the French, English and then Americans into the word “pumpkin.” Pumpkins and squash are believed to have originated in the ancient Americas. These early pumpkins were not the traditional round orange upright Jack-O-Lantern fruit we think of today when you hear the word pumpkin. They were a crooked neck variety which stored well. Archaeologists have determined that variations of squash and pumpkins were cultivated along river and creek banks along with sunflowers and beans. This took place long before the emergence of maize (corn). After maize was introduced, ancient farmers learned to grow squash with maize and beans using the “Three Sisters” tradition.
The Three Sisters are squash, corn and beans which grow and thrive together. Corn serves as the natural trellis for the beans to grow on. The beans roots set nitrogen in the soil to nourish the corn. The bean vines help to stabilize the corn stalks on windy days. The squash plants shelter the shallow roots of the corn and shade the ground to discourage weeds and preserve moisture. Truly a symbiotic relationship. I have read where it was a common practice to bury a small fish alongside the seeds at planting to nourish the “Three Sisters.”
Today’s Pumpkins~
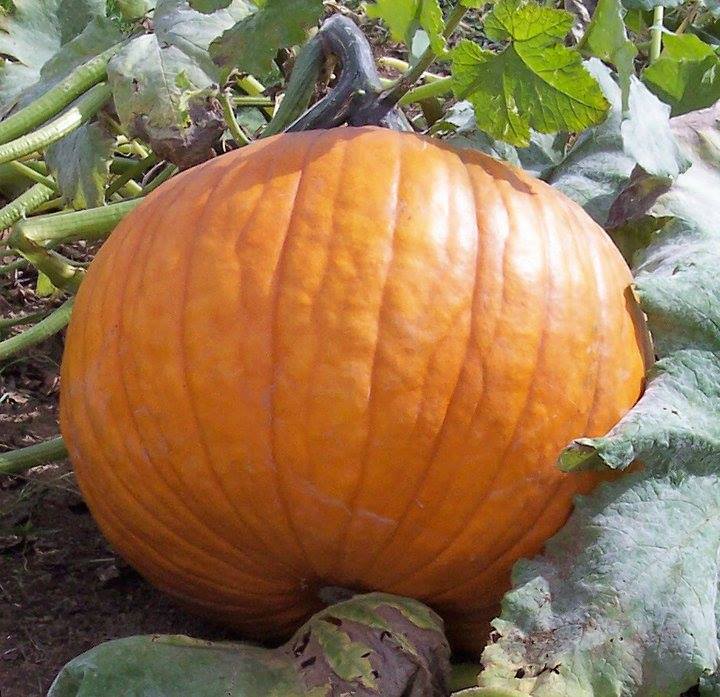
When we think ‘pumpkin’ what color comes to mind…for most I suspect it is the traditional orange.
All pumpkins start out green, then gradually grow into whatever color they become.
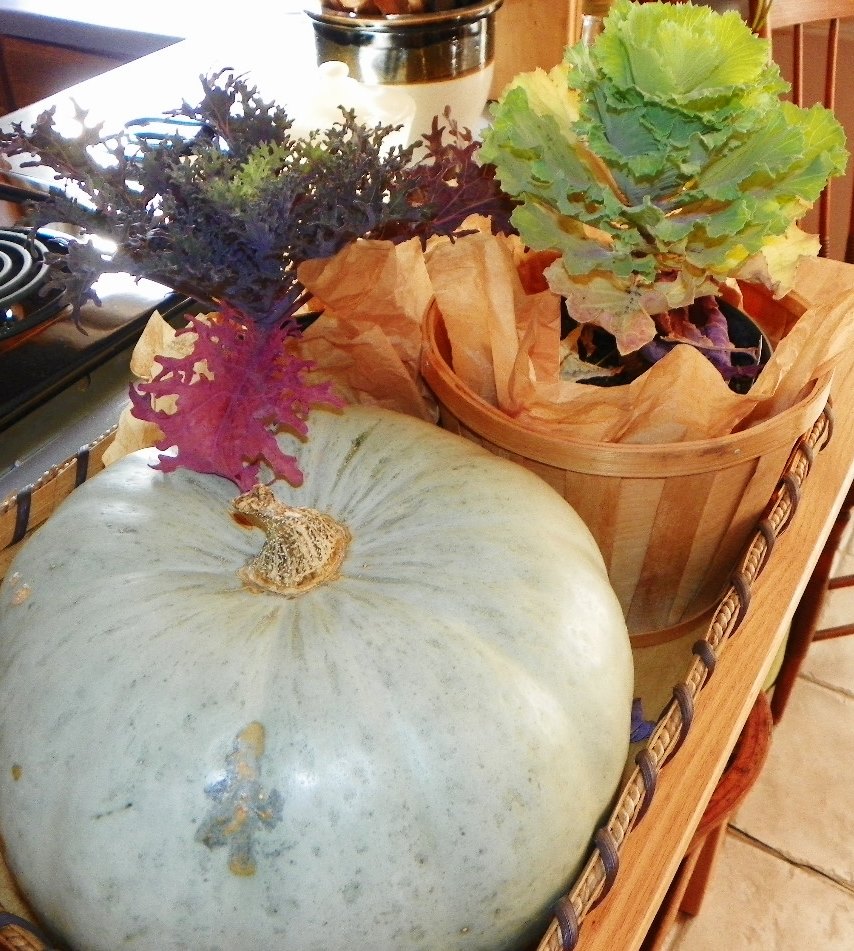
The Australian Blue (or light grey) is a smaller and flatter pumpkin, but adds beauty and charm to any collection.
There is a red pumpkin ” Rouge D’Etant” and one called Cinderella.
The tan pumpkin is what all commercial processors use. I have cooked a tan and find it much less stringy than all the others, milder in flavor also.
All pumpkins are the same color fruit inside.
All are packed with vitamin A and potassium and high in fiber.
All the odd shaped fruits such as the Monk’s Turbin, Goose neck, and many, many other varieties are not really pumpkins…instead they are either from the squash or gourd family.
~
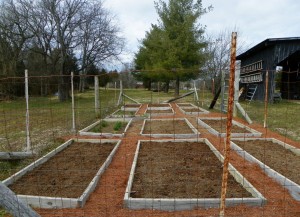
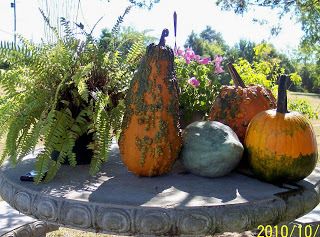
Some of the pumpkins that have been grown at Sage Hill over the years are in pictures below.
This year, this season, Sage Hill will be celebrating the “Pumpkin”.
So…look forward to more of the weird, wacky, colorful, and delicious
goodness.


 Eating and living healthy is so simple and so much fun, once you commit. Granted you have to be willing to cut back (way back) on a few major items in your diet. Those being: refined sugar, bad fats, processed foods and colas. Aim for eating as much home-grown/locally grown foods as possible. Stay away from GM foods (genetically modified) and high fructose corn syrup.